

Prepare before you start
Follow the numbered actions in order and compare your screen or recording with each expected result. Menu names can differ between application versions. Arrows show the order of settings and choices, not a claim that every account offers the same controls.
A dictionary without difficult abbreviations
| Name | After this step you will see |
|---|---|
| Framing | 9:16 → 1080 × 1920 px; 16:9 → 1920 × 1080 px |
| FPS | 30 FPS = 30 × frames / 1 s |
| Mb/s · MB/s | 1 Mb/s = 1000 kb/s; 1 MB/s = 8 Mb/s |
Step by step · 1–4
- Action
Open: Statistics → OBS → View → Stats.
✓ After this step you will seeAfter this step you will see: Baseline.
- Action
Check: Network → Network ↓.
✓ After this step you will seeAfter this step you will see: Upload video.
- Action
Check: Rendering → Rendering ↑.
✓ After this step you will seeAfter this step you will see: GPU.
- Action
Check: Encoding → Encoding ↑.
✓ After this step you will seeAfter this step you will see: Encoder.
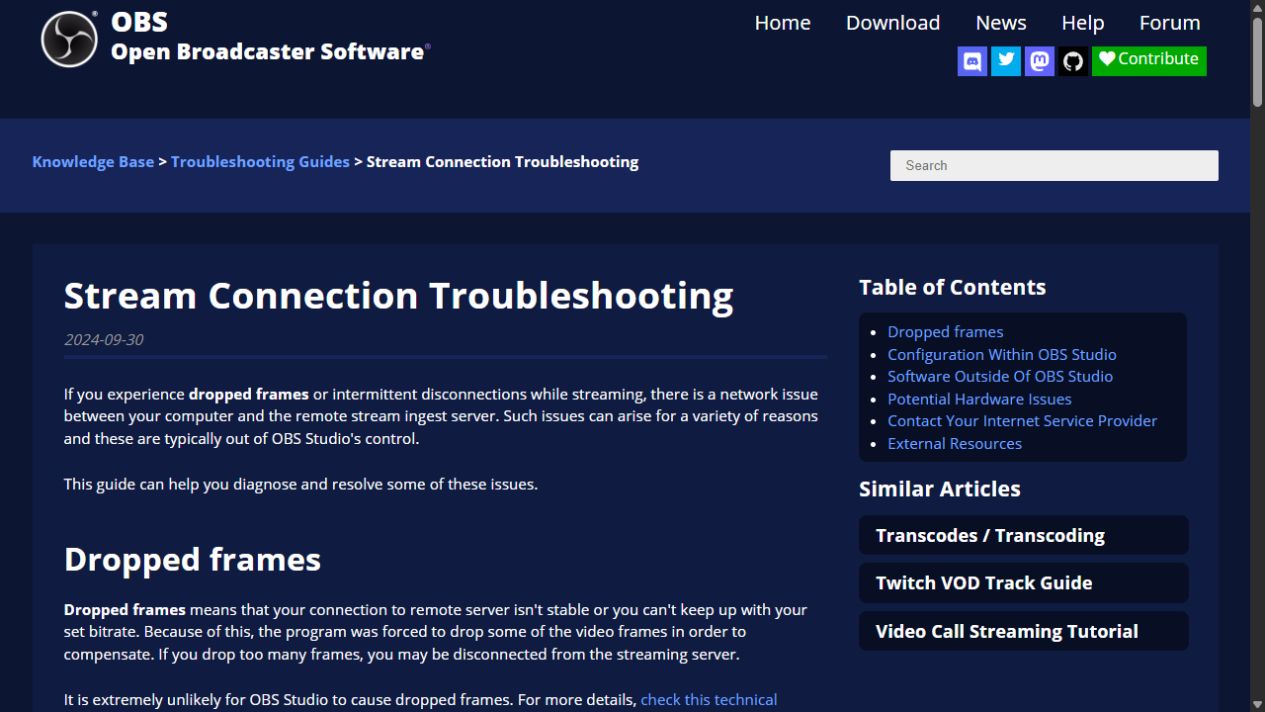 Enlarge the screenshot ↗
Step by step · 5–8
- Action
Open: Settings → OBS → Settings → Video.
✓ After this step you will seeAfter this step you will see: Output.
- Action
Select or set: Output → 1280 × 720 / 30 FPS.
✓ After this step you will seeAfter this step you will see: Load.
- Action
Select or set: Encoder → H.264 / NVENC / QSV / AMF.
✓ After this step you will seeAfter this step you will see: Hardware.
- Action
Select or set: Bitrate → Platform → Sources and licenses.
✓ After this step you will seeAfter this step you will see: Upload video.
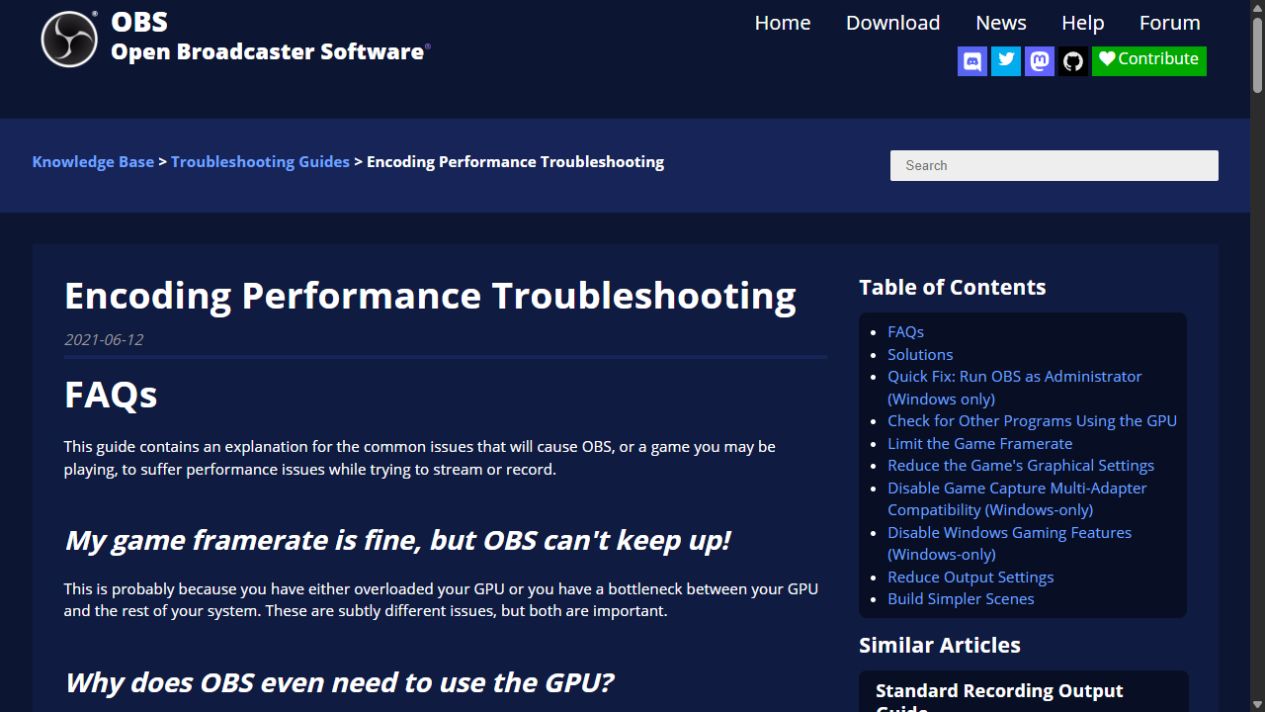 Enlarge the screenshot ↗
Step by step · 9–12
- Action
Select or set: Game FPS → 60 / 90 / 120 FPS.
✓ After this step you will seeAfter this step you will see: GPU.
- Action
Close: Control panel · Load → Control panel · ×1.
✓ After this step you will seeAfter this step you will see: Load.
- Action
Test: Recording → 5 min.
✓ After this step you will seeAfter this step you will see: Viewer output.
- Action
Compare: Statistics → Baseline.
✓ After this step you will seeAfter this step you will see: One change at a time.
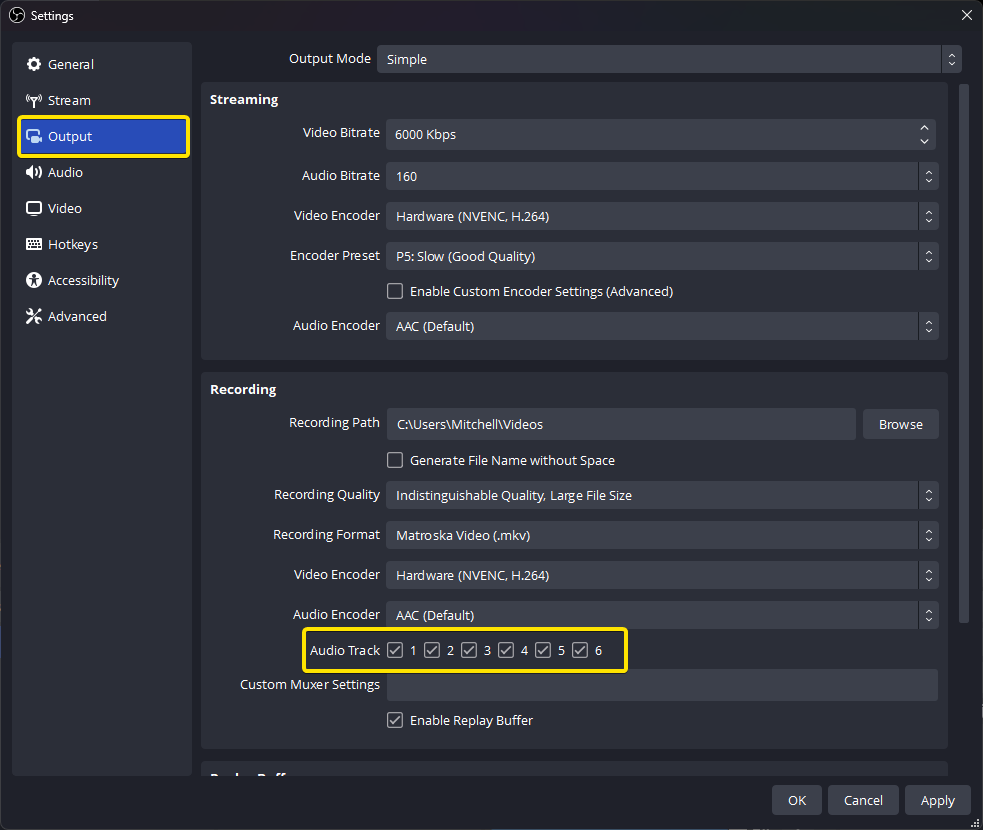 Enlarge the screenshot ↗
Settings · Context
| Action | After this step you will see | Context |
|---|---|---|
| Network | Network ↓ | Upload video |
| Rendering | Rendering ↑ | GPU |
| Encoding | Encoding ↑ | Encoder |
| Output | 1280 × 720 / 30 FPS | Short test |
Quick setup · Short test
Keep your existing canvas and scenes, but set the scaled output to 1280 × 720 and frame rate to 30. Run the same game and a five-minute recording. Compare increases in rendering and encoding lag. Limit FPS inside the game so it does not consume all GPU capacity.
If only network-dropped frames increase, a camera filter is unlikely to fix the cause. Match bitrate to platform guidance and sustained upload capacity with headroom. If just one viewer buffers, also investigate their playback before lowering quality for everyone.
- Check: Rendering → Rendering ↑.
- Select or set: Output → 1280 × 720 / 30 FPS.
- Select or set: Game FPS → 60 / 90 / 120 FPS.
- Compare: Statistics → Baseline.
Before you go live
Keep your existing configuration and original source file first. Change one parameter at a time. Check a short recording or the actual viewer output, rather than relying only on the editor. Restore the recorded baseline if the result gets worse.
- One change at a time → Baseline.
- Viewer output → Short test.
- Results → Backup.
Before you go live
- Baseline ✓
- Usage rights ✓
- Viewer output ✓
- Backup ✓
- One change at a time ✓
Frequently asked questions
Prepare before you start?
Account / Source files. Baseline → Backup. Short test → Viewer output. Open: Statistics → OBS → View → Stats.
Stop and check?
After this step you will see: One change at a time. Keep your existing configuration and original source file first. Change one parameter at a time. Check a short recording or the actual viewer output, rather than relying only on the editor. Restore the recorded baseline if the result gets worse.
Context?
Distinguish network frame loss, rendering lag and encoding lag. Treat 720p at 30 FPS as a test baseline, not a universal platform requirement. Choose an available hardware encoder and leave resources for OBS.