A dictionary without difficult abbreviations
| Concept | What does this mean in practice? |
|---|---|
| Scene | Ready-made image layout: e.g. a game with a camera or a break board. The scene you choose determines what you show. |
| Source | One scene component: game, camera, text, audio, or page with overlay. The order of sources determines what covers what. |
| URL | Full web address. Copy it using the button in the panel; do not copy fragments and do not add spaces. |
| Event | New information from the platform, such as a message, observation or gift. The appearance test is not always an actual event. |
| Resolution | The width × height of the area, e.g. 1920 × 1080. This is different than shrinking the source rectangle with the mouse. |
Step by step · 1–4
- Action
Make a copy of your profile and scene collection before changing the layout.
✓ After this step you will seeYou can go back to the horizontal configuration.
- Action
Decide whether you are preparing a separate vertical stage or a separate exit.
✓ After this step you will seeYou don't assume that the mere rotation of the stage triggers the second stream.
- Action
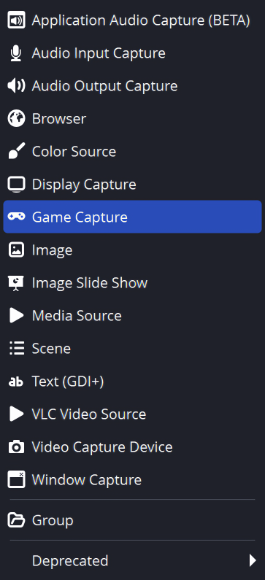
In the separate OBS profile, open Settings → Picture.
✓ After this step you will seeYou can change the workspace without losing previous values.
- Action
Set the base vertical area, e.g. 1080 × 1920, if it matches the target platform.
✓ After this step you will seeThe preview has an aspect ratio of 9:16.
 Enlarge the screenshot ↗
Step by step · 5–8
- Action
Choose the output resolution and FPS according to the capabilities of your hardware and platform.
✓ After this step you will seeYou don't broadcast higher quality than you can maintain.
- Action
Add the game to a new scene and maintain its aspect ratio.
✓ After this step you will seeThe image is not unnaturally narrow.
- Action
Choose a frame: part of the game, a full image with free space or consciously arranged segments.
✓ After this step you will seeYou know what the recipient will lose when cropping.
- Action
Add the camera as a separate item and place it in the designated location.
✓ After this step you will seeThe face is not stretched.
 Enlarge the screenshot ↗
Step by step · 9–12
- Action
In the overlay provider panel, select the vertical resolution and save the position of the elements.
✓ After this step you will seeThe overlay draws in a vertical area.
- Action
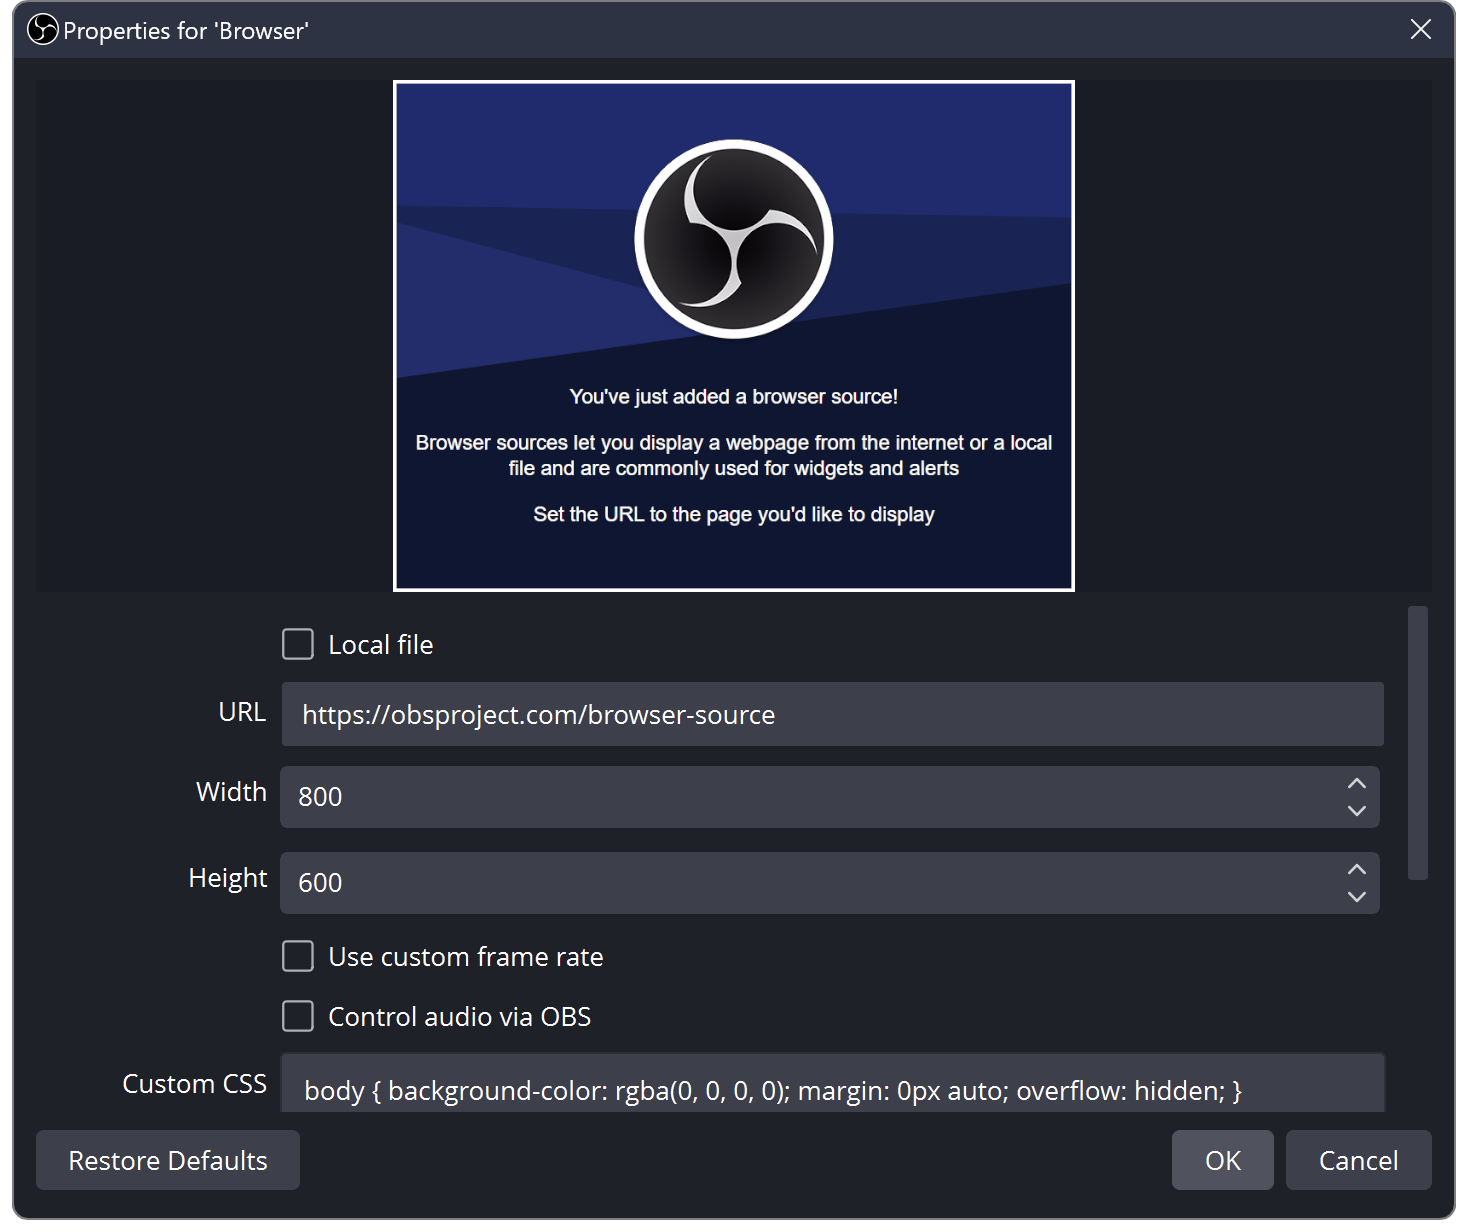
In the Source Viewer, enter the same dimensions as in the saved link.
✓ After this step you will seeElements do not fall outside the source area.
- Action
Enlarge the text so that it can be read on a small screen.
✓ After this step you will seeYou don't evaluate readability only on the monitor.
- Action
Leave free space for platform application buttons, comments and signatures.
✓ After this step you will seeThe interface does not cover important numbers.
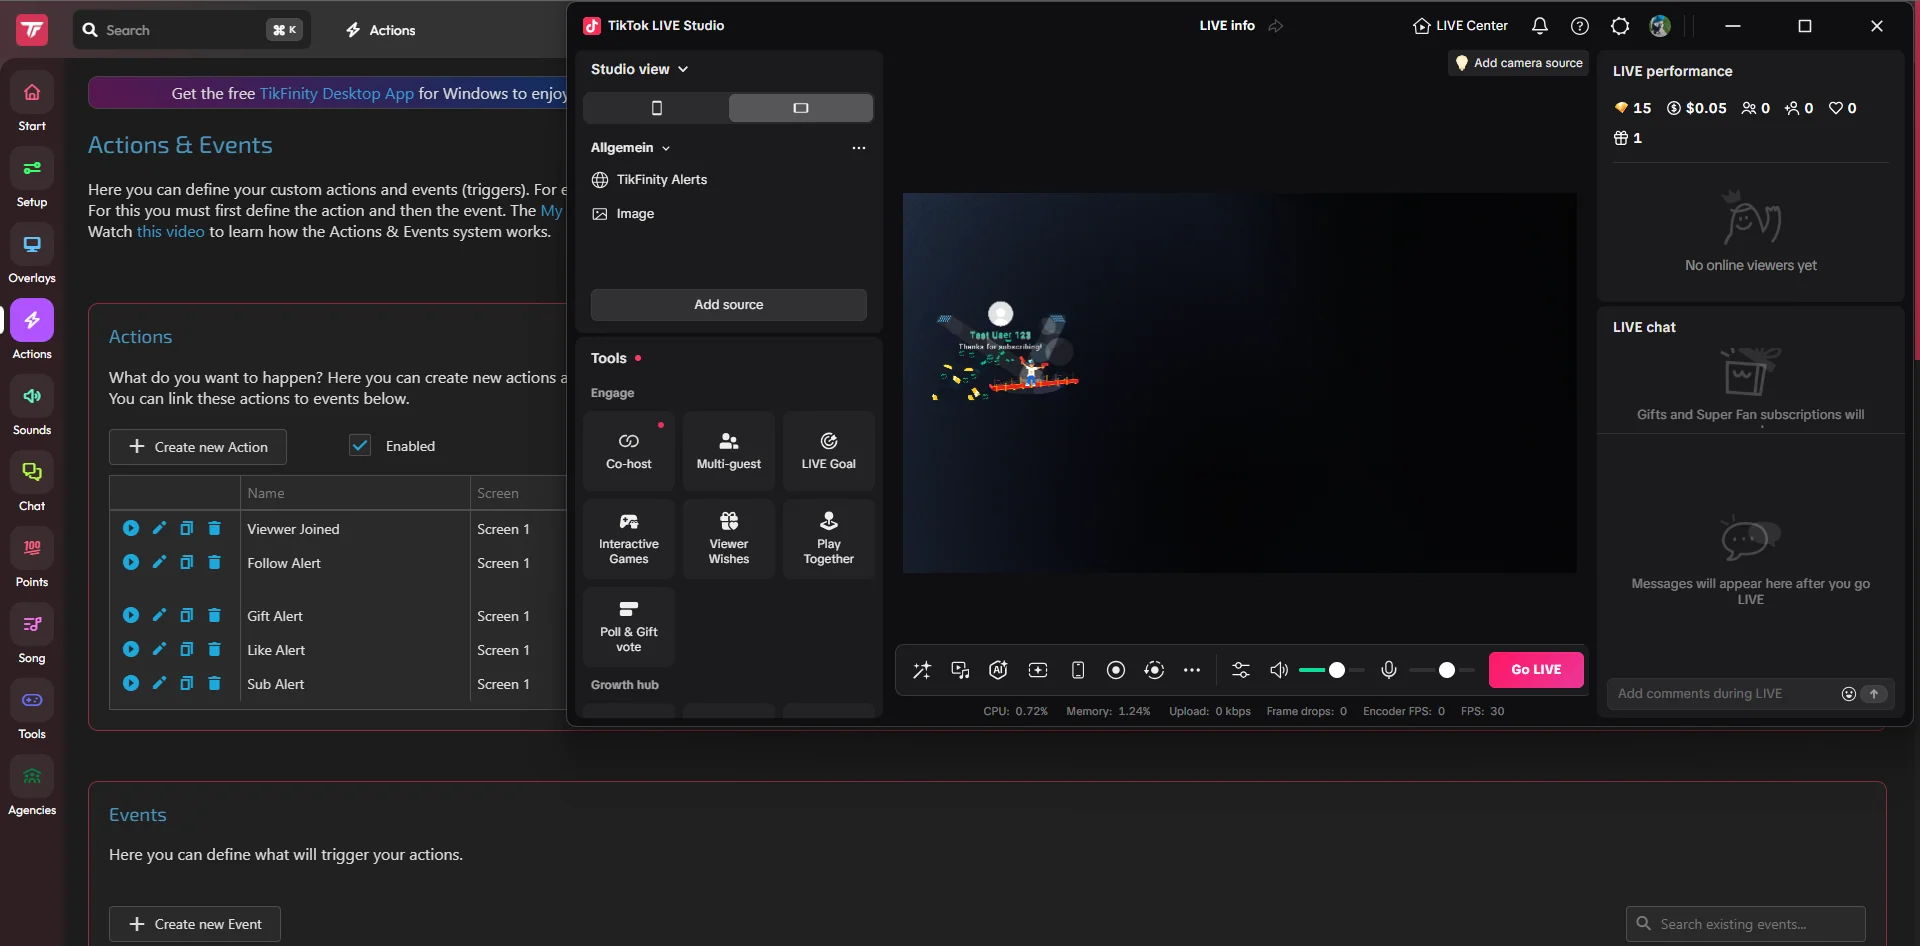 Enlarge the screenshot ↗
Step by step · 13–16
- Action
Record a short rehearsal and open it on your phone.
✓ After this step you will seeYou see the actual letter size and cropping.
- Action
Check the long nickname and some chat messages.
✓ After this step you will seeThe text does not go beyond the frame.
- Action
Lock the arrangement of sources after rehearsal.
✓ After this step you will seeThe layout does not move when accidentally clicked.
- Action
Before publishing, check the target output of the platform.
✓ After this step you will seeYou confirm that you are transmitting vertically where you planned.
The vertical format does not mean that the wide image is stretched
A wide game won't fit in a vertical frame, filling it without cropping or free space. Choose consciously: keep the entire image with additions above and below it, or crop the unimportant edges. Don't squeeze the image horizontally or you will distort the game and the faces.
If you want an independent vertical and horizontal image at the same time, you need a solution that supports two layouts or outputs. Basic area change OBS does not automatically create two independent transmissions. Check the capabilities of the program, service and platforms.
Safe Place works on the target platform
Platform buttons, comments and captions take up part of the image and may vary between applications. There is no single margin guaranteed for every phone. Keep stock and check the finished LIVE or sample in target view.
Don't place all widgets at once. Vertically, first ensure the readability of the game, voice and main message. Long chat, top and music bar can all compete for the same space. Separate them into scenes or limit the size and number of elements.
An example you can reproduce
For a vertical 1080 × 1920 source, you enter a width of 1080 and a height of 1920 in OBS. It is not enough to shrink the rectangle from a 1920 × 1080 source: an alert placed far to the right may still remain outside the visible frame. The source resolution and its size in the scene are different settings.
What do you see on the screen and how to fix it
Fix one thing at a time and try the same thing again. If you change several options at the same time, it will be difficult to determine what solved the problem. Don't delete a working source or entire configuration just because one widget isn't responding.
If you still need help, write down the program name and version, platform, approximate time of trial, expected result, and what actually happened. Attach a dump without passwords, keys and full private links. This description is much more useful than just the "not working" message.
| Symptom | Check first | Do it |
|---|---|---|
| The face is unnaturally narrow | Unequal scaling | Restore the aspect ratio of the source and change the frame. |
| The alert disappears on vertical LIVE | Link and source have different dimensions | Compare the area saved in the panel and in OBS. |
| The text is covered by buttons | No interface margin | Swipe important items and check on your phone. |
| After the change, the horizontal arrangement broke down | You edited a shared profile or scene | Restore a copy and prepare a separate configuration. |
| The letters are too small | Only the large preview was rated | View the file on your phone and make the text larger. |
Last attempt before use on LIVE
- Save the changes using the button assigned to the edited function. If there are separate forms, check each changed part separately.
- Open the settings again and compare the most important values. Simply moving the slider does not always mean a permanent save.
- Check the result outside the editor itself: on the target scene, in the recording, or in the reopened configuration.
- If the function uses the platform, separately acknowledge the new handled event during the active LIVE. Don't expect the appearance test to confirm account authorization.
- Save the working values and make a copy before the next major change. Next time you start up, start with a quick check.
Before you go live
- You know what the fields and units you use mean.
- The most important values were saved and checked again.
- The attempt was graded on the finished output, not just in the editor.
- The image is clear and each sound plays only once.
- Working configuration and safe copy preserved.
Frequently asked questions
The face is unnaturally narrow - what to do?
Unequal scaling. Restore the aspect ratio of the source and change the frame.
Alert disappears on vertical LIVE - what to do?
Link and source have different dimensions. Compare the area saved in the panel and in OBS.
The text is obscured by the buttons - what should I do?
No interface margin. Swipe important items and check on your phone.
After the change, the horizontal layout is broken - what should I do?
You edited a shared profile or scene. Restore a copy and prepare a separate configuration.