

Prepare before you start
Follow the numbered actions in order and compare your screen or recording with each expected result. Menu names can differ between application versions. Arrows show the order of settings and choices, not a claim that every account offers the same controls.
A dictionary without difficult abbreviations
| Name | After this step you will see |
|---|---|
| Framing | 9:16 → 1080 × 1920 px; 16:9 → 1920 × 1080 px |
| FPS | 30 FPS = 30 × frames / 1 s |
| Mb/s · MB/s | 1 Mb/s = 1000 kb/s; 1 MB/s = 8 Mb/s |
Step by step · 1–4
- Action
Check: Account → TikTok.
✓ After this step you will seeAfter this step you will see: TikTok → LIVE ✓.
- Action
Open: Platform → TikTok → + → LIVE.
✓ After this step you will seeAfter this step you will see: TikTok → LIVE ✓.
- Action
Select or set: Framing → 9:16.
✓ After this step you will seeAfter this step you will see: 9:16.
- Action
Check: Camera → Camera ✓.
✓ After this step you will seeAfter this step you will see: Focus.
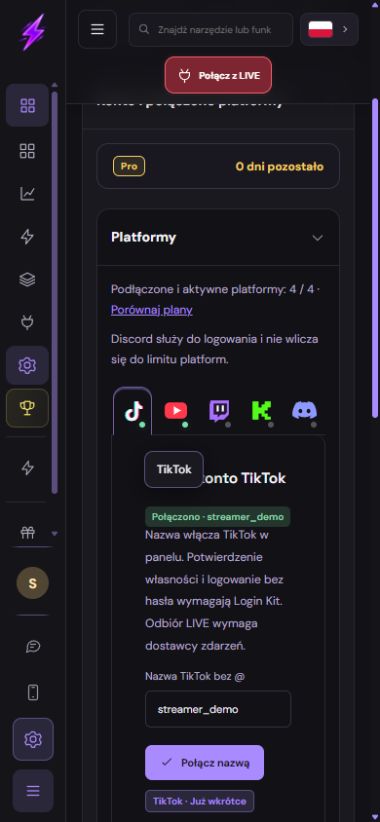 Enlarge the screenshot ↗
Step by step · 5–8
- Action
Select or set: Lighting → Window.
✓ After this step you will seeAfter this step you will see: Face.
- Action
Check: Microphone → Voice.
✓ After this step you will seeAfter this step you will see: Audio.
- Action
Select or set: Title → Promise.
✓ After this step you will seeAfter this step you will see: Title = Promise.
- Action
Check: Privacy → Background.
✓ After this step you will seeAfter this step you will see: Privacy ✓.
 Enlarge the screenshot ↗
Step by step · 9–12
- Action
Select or set: Network → Wi-Fi / Ethernet / 4G / 5G.
✓ After this step you will seeAfter this step you will see: Network ✓.
- Action
Check: Temperature → Ventilation.
✓ After this step you will seeAfter this step you will see: Network ✓.
- Action
Test: Preview → 30–60 s.
✓ After this step you will seeAfter this step you will see: Audio.
- Action
Check: Stream chat → Moderator.
✓ After this step you will seeAfter this step you will see: Readability.
Settings · Context
| Action | After this step you will see | Context |
|---|---|---|
| Framing | 9:16 | 9:16 |
| Lighting | Window | Face |
| Audio | Voice | Noise |
| Network | Upload video | Network ✓ |
Quick setup · Short test
Desk exercise: place the phone vertically on a stable stand, clean the lens and face a window. Record thirty seconds with the normal camera app from your intended speaking distance. Review it with headphones. If speech is quiet, move or adjust the microphone before adding louder music.
Check LIVE availability inside your own TikTok account. If the creation button offers no LIVE mode, read the account message and current eligibility rules. Another creator’s different app layout does not prove your account has the same access.
- Select or set: Framing → 9:16.
- Check: Microphone → Voice.
- Select or set: Network → Wi-Fi / Ethernet / 4G / 5G.
- Check: Stream chat → Moderator.
Before you go live
Keep your existing configuration and original source file first. Change one parameter at a time. Check a short recording or the actual viewer output, rather than relying only on the editor. Restore the recorded baseline if the result gets worse.
- One change at a time → Baseline.
- Viewer output → Short test.
- Results → Backup.
Before you go live
- Baseline ✓
- Usage rights ✓
- Viewer output ✓
- Backup ✓
- One change at a time ✓
Frequently asked questions
Prepare before you start?
Account / Source files. Baseline → Backup. Short test → Viewer output. Check: Account → TikTok.
Stop and check?
After this step you will see: Readability. Keep your existing configuration and original source file first. Change one parameter at a time. Check a short recording or the actual viewer output, rather than relying only on the editor. Restore the recorded baseline if the result gets worse.
Context?
Check whether your account can go LIVE first. Eligibility and controls vary by account and region. The ordinary TikTok phone camera does not accept an arbitrary overlay URL like an OBS Browser Source.