

Prepare before you start
Follow the numbered actions in order and compare your screen or recording with each expected result. Menu names can differ between application versions. Arrows show the order of settings and choices, not a claim that every account offers the same controls.
A dictionary without difficult abbreviations
| Name | After this step you will see |
|---|---|
| Framing | 9:16 → 1080 × 1920 px; 16:9 → 1920 × 1080 px |
| FPS | 30 FPS = 30 × frames / 1 s |
| Mb/s · MB/s | 1 Mb/s = 1000 kb/s; 1 MB/s = 8 Mb/s |
Step by step · 1–4
- Action
Check: Camera → Camera ✓.
✓ After this step you will seeAfter this step you will see: Focus.
- Action
Select or set: Framing → Camera = Face.
✓ After this step you will seeAfter this step you will see: Face.
- Action
Select or set: Lighting → Window.
✓ After this step you will seeAfter this step you will see: Face.
- Action
Select or set: Background → Distance.
✓ After this step you will seeAfter this step you will see: Depth.
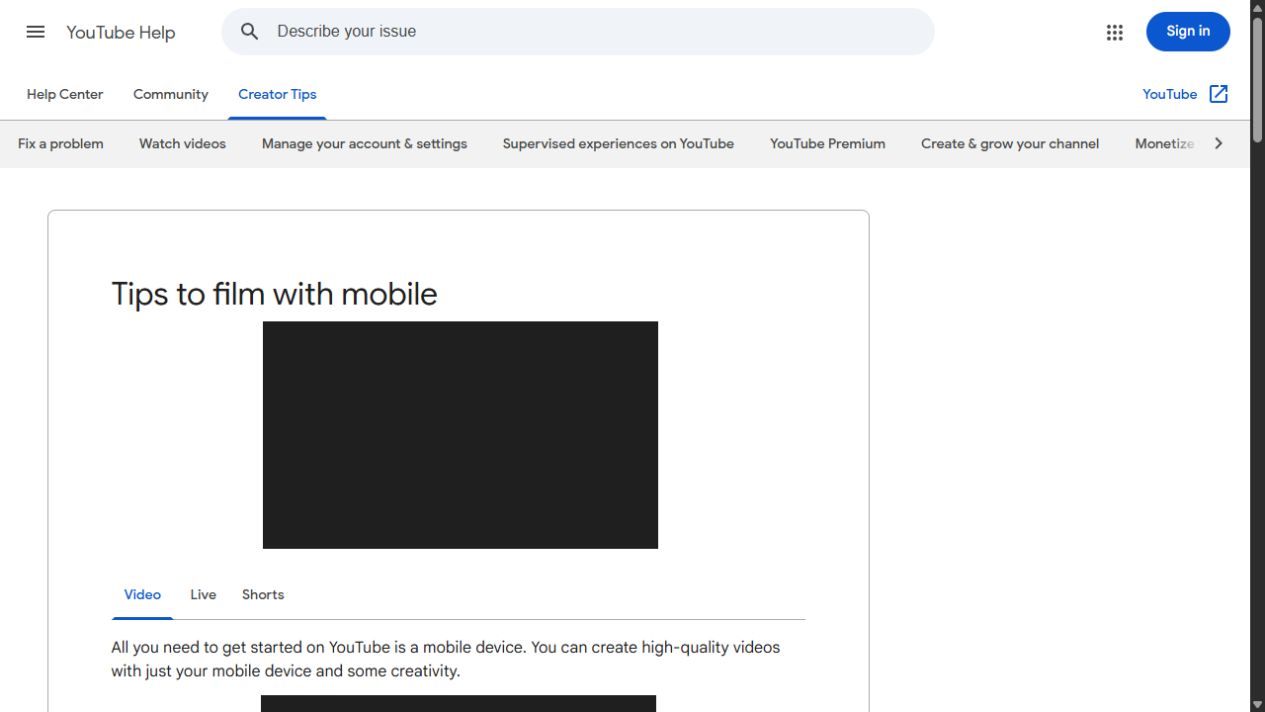 Enlarge the screenshot ↗
Step by step · 5–8
- Action
Select or set: Exposure → Face.
✓ After this step you will seeAfter this step you will see: Exposure ✓.
- Action
Select or set: White balance → 1 × White balance.
✓ After this step you will seeAfter this step you will see: White balance ✓.
- Action
Select or set: Focus → Face.
✓ After this step you will seeAfter this step you will see: Focus.
- Action
Check: Microphone → Voice.
✓ After this step you will seeAfter this step you will see: Noise.
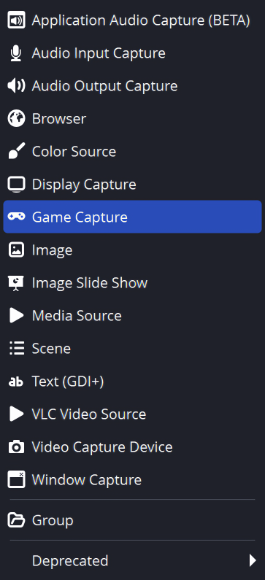 Enlarge the screenshot ↗
Step by step · 9–12
- Action
Test: Recording → 30 s.
✓ After this step you will seeAfter this step you will see: Viewer output.
- Action
Check: Flicker → 50 / 60 Hz.
✓ After this step you will seeAfter this step you will see: 50 / 60 Hz.
- Action
Compare: Preview → Phone application · 100%.
✓ After this step you will seeAfter this step you will see: Readability.
- Action
Save: Settings → Baseline.
✓ After this step you will seeAfter this step you will see: Changes saved..
 Enlarge the screenshot ↗
Settings · Context
| Action | After this step you will see | Context |
|---|---|---|
| Lighting | Window | Face |
| Camera | Camera = Face | Framing |
| Exposure | Face | Exposure ✓ |
| White balance | 1 × White balance | White balance ✓ |
Quick setup · Short test
Begin with one soft light or a window slightly beside the camera. Put the lens near eye level and leave distance from the wall if possible. Record normal movement for thirty seconds and inspect face sharpness, changing brightness and background distractions before adding another light.
Flicker can involve the light source, exposure time and local power frequency. Test the supported 50 or 60 Hz anti-flicker setting for your location. Reduce exposure or light if highlights are blown out; sharpening cannot restore detail that was never recorded.
- Select or set: Lighting → Window.
- Select or set: White balance → 1 × White balance.
- Test: Recording → 30 s.
- Save: Settings → Baseline.
Before you go live
Keep your existing configuration and original source file first. Change one parameter at a time. Check a short recording or the actual viewer output, rather than relying only on the editor. Restore the recorded baseline if the result gets worse.
- One change at a time → Baseline.
- Viewer output → Short test.
- Results → Backup.
Before you go live
- Baseline ✓
- Usage rights ✓
- Viewer output ✓
- Backup ✓
- One change at a time ✓
Frequently asked questions
Prepare before you start?
Account / Source files. Baseline → Backup. Short test → Viewer output. Check: Camera → Camera ✓.
Stop and check?
After this step you will see: Changes saved.. Keep your existing configuration and original source file first. Change one parameter at a time. Check a short recording or the actual viewer output, rather than relying only on the editor. Restore the recorded baseline if the result gets worse.
Context?
Adjust lighting and framing before buying a new camera. Soft light from the front or side usually makes a face clearer than a bright window behind it. Set focus, exposure and white balance for the scene and review a recording.